
 Sets (tap+reducer)
 ECO kits
 ROTO sets
 PRO kits
 EXTRA sets
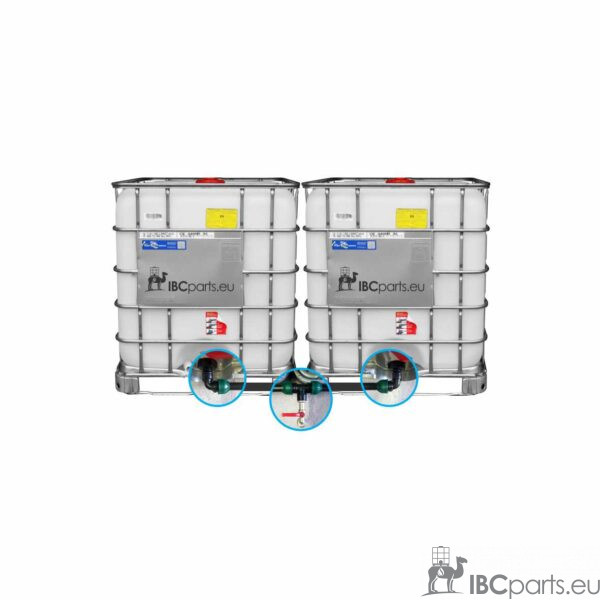
 DUO systems
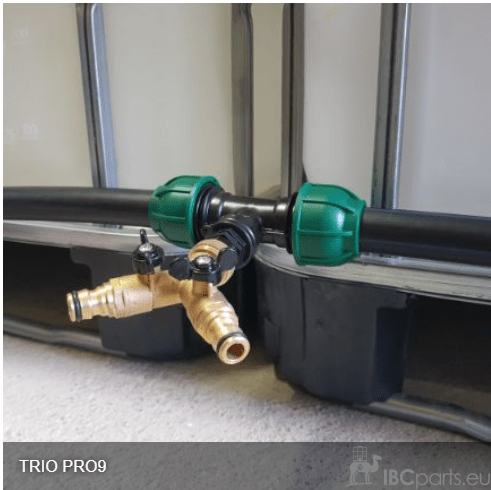
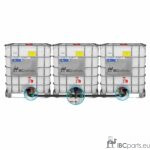 TRIO systems
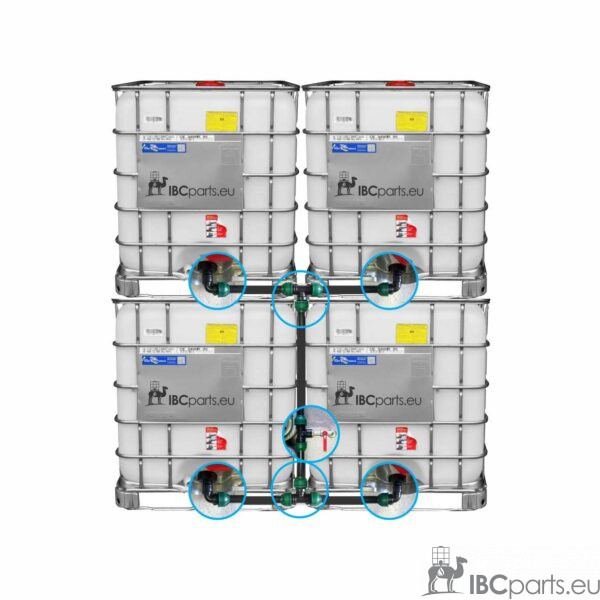
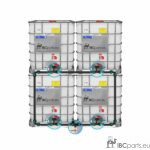 4X systems
 Valves and valve replacements
 Lids and filters
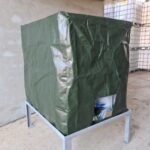 UV covers
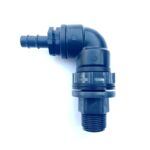 More
More
 Compression fittings
 PP fittings and valves
 Pipes
Pipes


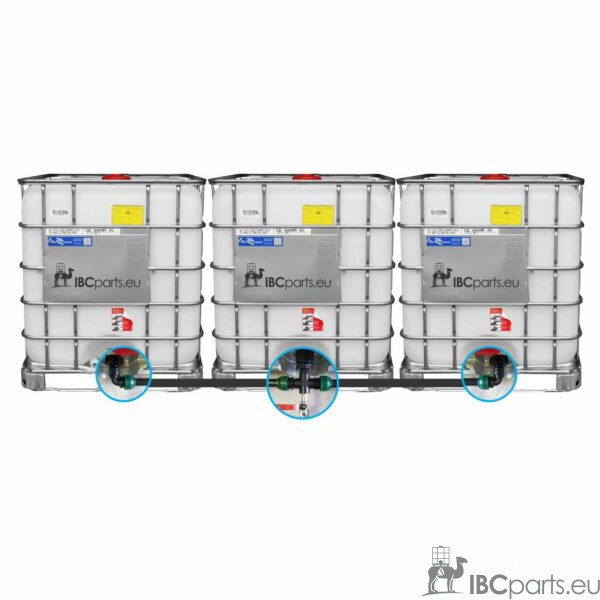

The lower tank must be vented to allow water to flow smoothly through the valves.

Cover with sprue (165 mm fi) + 2 m of hose.
Price: 21,50€
Art.No.#510
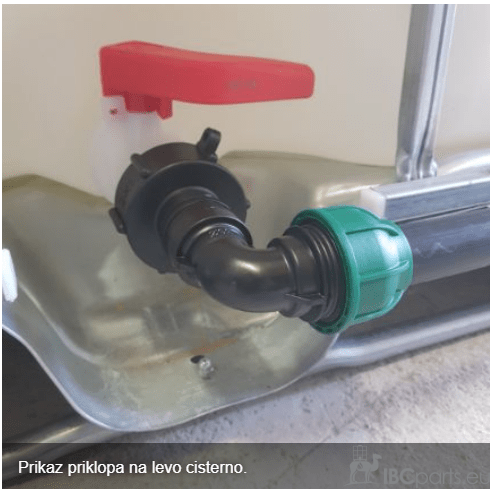
The easiest and cheapest way to do this is as follows (see image):
On the lower tank, use the Spruce Cover (pictured)- to which you connect the garden hose. Fix the other end of the hose above the height where the water flows into the upper cistern (e.g. where you have a spigot from the gutter - usually 2m of hose is enough - this is also included in this item).
This will allow the lower tank to be filled smoothly via the valve.
Please note that this item can only be used if you have a tank on a metal pallet or if the tank does not have a centre leg.If you have a tank that has a centre leg and it sits on the lid of the lower tank, you can solve the issue in a similar way with the item Additional tank outlet Simple 3/4″ tank vent (#92).
Except that in this case you will need to drill a suitable hole in the top of the lower tank - preferably somewhere near the lid.
Useful:
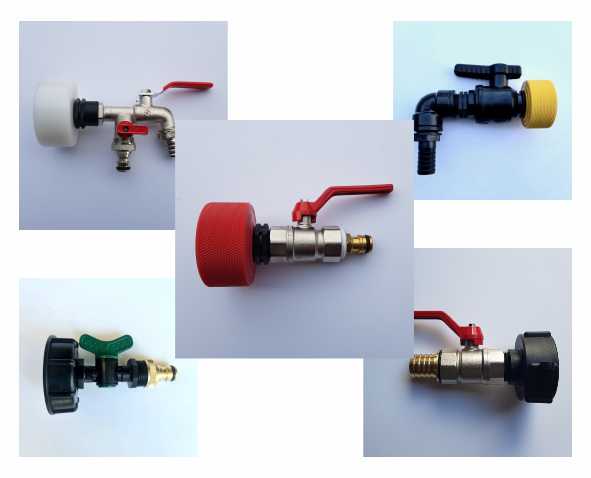
When ordering a system DUO1 and DUO2 can also be supplied with a brass "gardena" nozzle - click system - for the garden hose. The double tap already has this spout. There is no adapter for the 1″ tap.
Price: 3,20€
Art.No.#501

Tip!
It is highly recommended that the water passes through a filter when it enters the tank to avoid rotting, mould and excessive growth of micro-organisms in the tank.
We offer rainwater filters for mounting on a hose with a gutter, which filter out larger impurities (leaves, moss, etc.).
We also have a variety of fine filters for mounting on the IBC tank itself.
Make sure the water in your tanks stays clean for as long as possible. The UV protective mat for the IBC tank further limits the growth of micro-organisms.
Video demonstration of how to assemble a DUO system:
In the package you usually get the tape already on the threads where it is needed or it is included.
Installation instructions for systems with alkaten connections:
Unscrew the nut (green in the video above) until 3/4 of the threads show. Insert the alkathene hose and push hard TO THE END (through the seal). Tighten. That's it.
The only possible problem you may encounter is during installation:
If you haven't inserted the hose deep enough and have already tightened it, you can no longer simply push the hose deeper.
In this case, unwind to the end. You will see a white ring* attached around the hose. Slide this ring up the pipe by hand.
Then repeat the above procedure.
*The white ring is cut into the tube when screwed in, thus ensuring 100% strength.
Please note that the alcathene connectors on the side where the alcathene hose connects are NOT wrapped with Teflon, as they have their own seal inside.
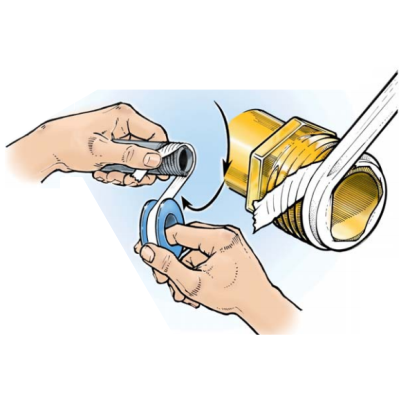
Instructions for wrapping threads with Teflon (PTFE) tape:
For all fine threads - for example between the reducer and the tap - Teflon tape should be used to ensure a tight seal and adequate leeway.
Example: always use the tap in a position where the spout is facing downwards. When screwed all the way into the reducer and Teflon is not used, the position of the tap is not necessarily ideal and can also be turned upwards. Teflon gives room to manoeuvre to keep the tap (or other item) in the position that suits us.
Hold the beginning of the tape and wind the tape in the direction of the threads (see picture).
Do not apply excessive force - neither when winding the strap nor when screwing it into the reducer.
How many wrappers is enough depends on the product. If there is too much Teflon, too much force must be applied when screwing into the reducer, which can lead to damage. Too little Teflon may mean that the case will not seal completely.
The recommended approximate number of wraps using our Teflon is between 6 and 10.
(Reducers and nipples need more of them than alkaline connectors.