
 Sets (tap+reducer)
 ECO kits
 ROTO sets
 PRO kits
 EXTRA sets
 DUO systems
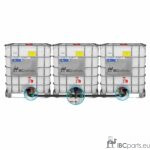 TRIO systems
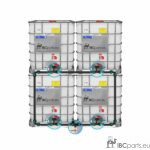 4X systems
 Valves and valve replacements
 Lids and filters
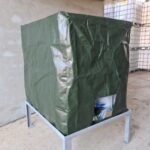 UV covers
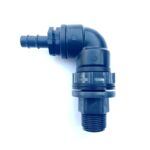 More
More
 Compression fittings
 PP fittings and valves
 Pipes
Pipes


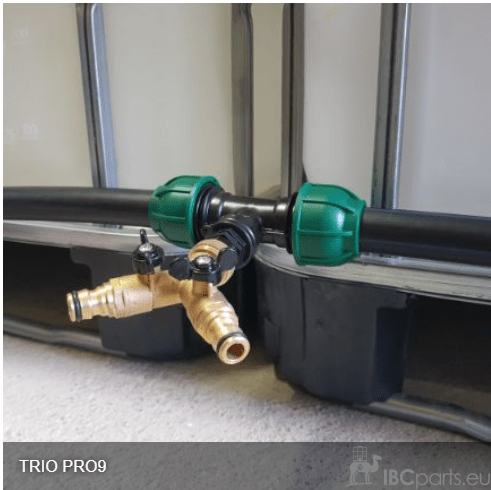

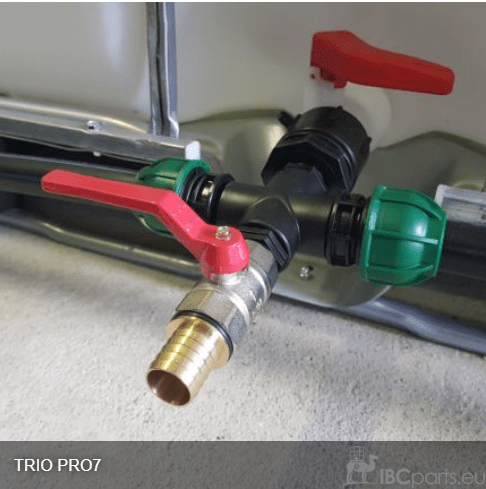


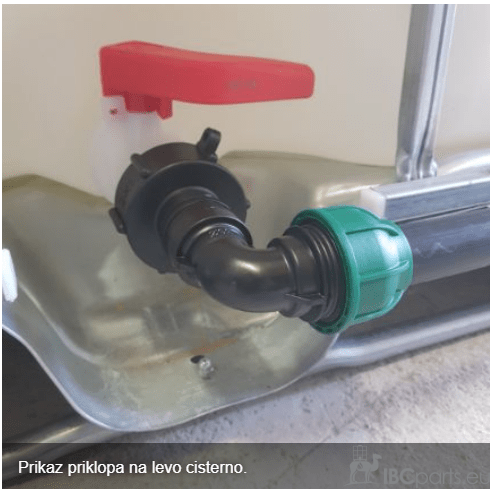
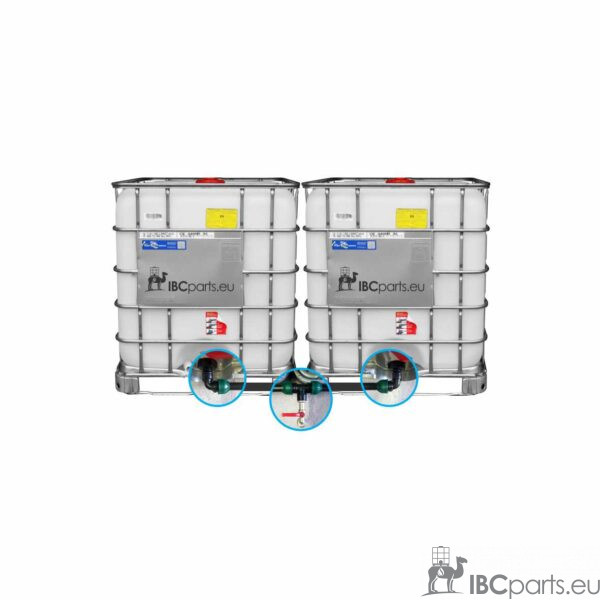
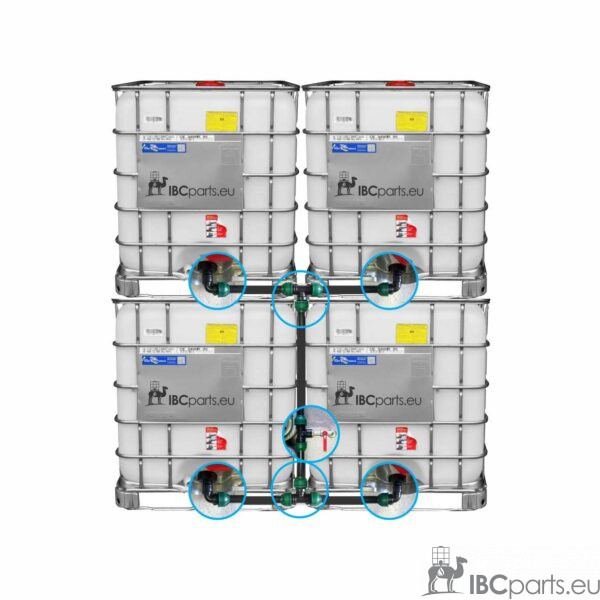
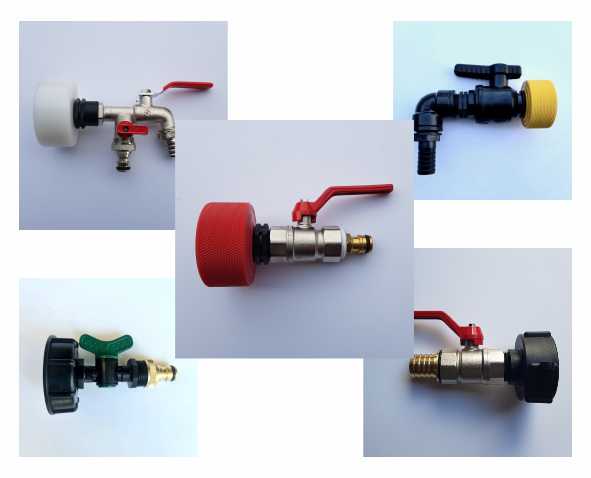
*Pipes and valves can be seen in more detail in the pictures above and/or here
We can also design a system to your specifications. Multiple outlets, a valve to connect a hydrophore, multiple taps, etc... The hydrophore connection is most practical on the right side - because of the direction of opening of the valve handle.
Reference:
If you are going to put water into one tank, the other two tanks must be vented to allow the water to flow smoothly through the valves.
There are several ways to do this:
1. If you don't mind water leaking through the lid opening when the tank is filled to the top, you can just unscrew the tank lid slightly - just enough to let air pass through. When the tanks are completely full, the excess water (overflow) will flow out from here.
2. A vented lid works in a similar way - air passes through, but so does water when the tanks are filled to the top.
3. Use the outlet cover and fix the appropriate spout (for the alkaline hose, garden hose, etc.) to it and drain the excess water (overflow) away.
4. You can use a simple vent (use a lid with an outlet or drill a hole in the tank. Connect the garden hose to this outlet. Fix the other end of the hose above the height where the water flows into the cistern (e.g. where you have a spigot from the gutter - usually 2m of hose is enough). This way, even when the tanks are full, the water will not leak out and the tank will "breathe".
5. You can use a PROFI vent, which lets air in, but not water out. Extremely useful in locations where there should be no leaks (e.g. if you have a cistern in the garage).
Please contact us for further questions and advice.
Please read the warnings/advice below before installation.
Warning:
Tanks look the same at first glance, but they differ from each other. The biggest difference is in the valves. The standard and most common outside diameter of the valve is 60mm. In practice, it can vary between 55 and 62mm.
All S60 reducers in our range are designed to fit all coarse threads on 60mm diameter valves (S60x6). Due to slight differences in the "standard" valve threads, the feel of the reducer may vary when installed. It may fit perfectly, it may go a little loose or a little tighter. When it is screwed all the way in, it is tight and fixed. All reducers are of proven quality.
Tip:
Before installation, make sure that the cheek of the tank valve (where the reducer is installed) is smooth and undamaged. New tanks have an aluminium seal on the valve opening - if this is superficially removed, it may be the cause of a poor seal of the reducer. Any imperfections on the valve should be removed or sanded with sandpaper before the first installation of the pressure reducer.
The ECO+ reducers used in TRIO PRO systems are extremely durable and have a foam seal. Optionally, a rubber gasket can also be purchased.
For the TRIO PRO system, you can also use EXTRA reducers - these are designed for the most demanding users and really extreme conditions.